Ver artículo en español
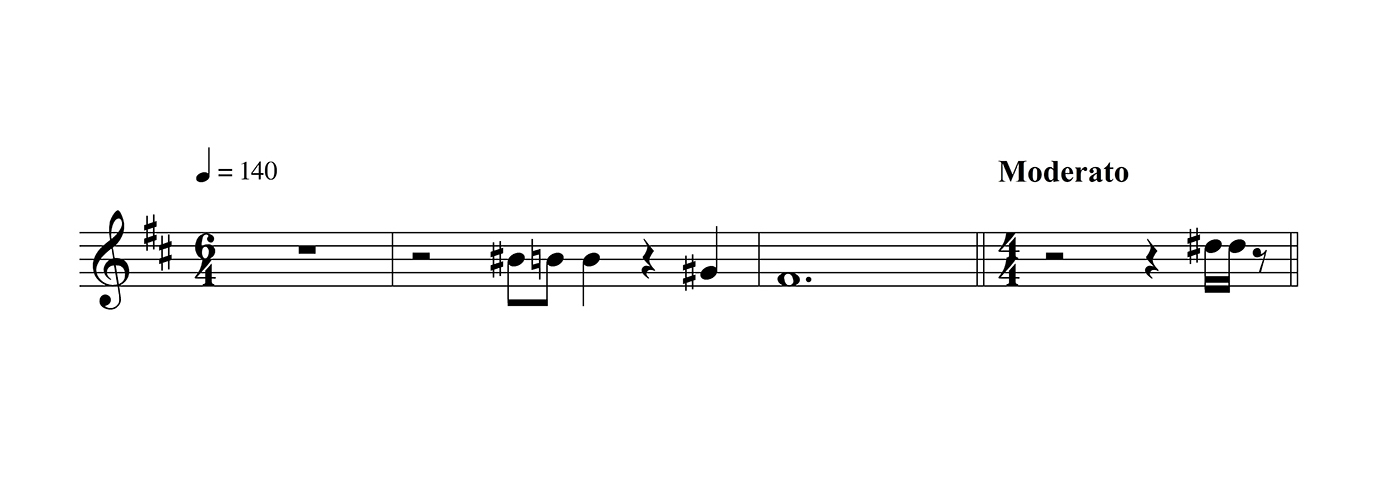
Finale’s Setup Wizard makes it easy to add an initial tempo marking to any new score. But what if you decide to add a tempo marking long after you’ve finished the Setup Wizard? What if you want to add tempo changes mid-piece? To simplify this process we expanded the available tempo markings available in Finale v26. When you use one of these predefined tempo markings they will automatically impact playback, so what you see is what you hear.
Our technical support staff receives questions about creating tempo changes that playback accurately fairly often, so we thought we’d take a second to show how quick and easy it is!
Create Tempo Change
- Select the Expression Tool and double-click where you would like the marking to appear.
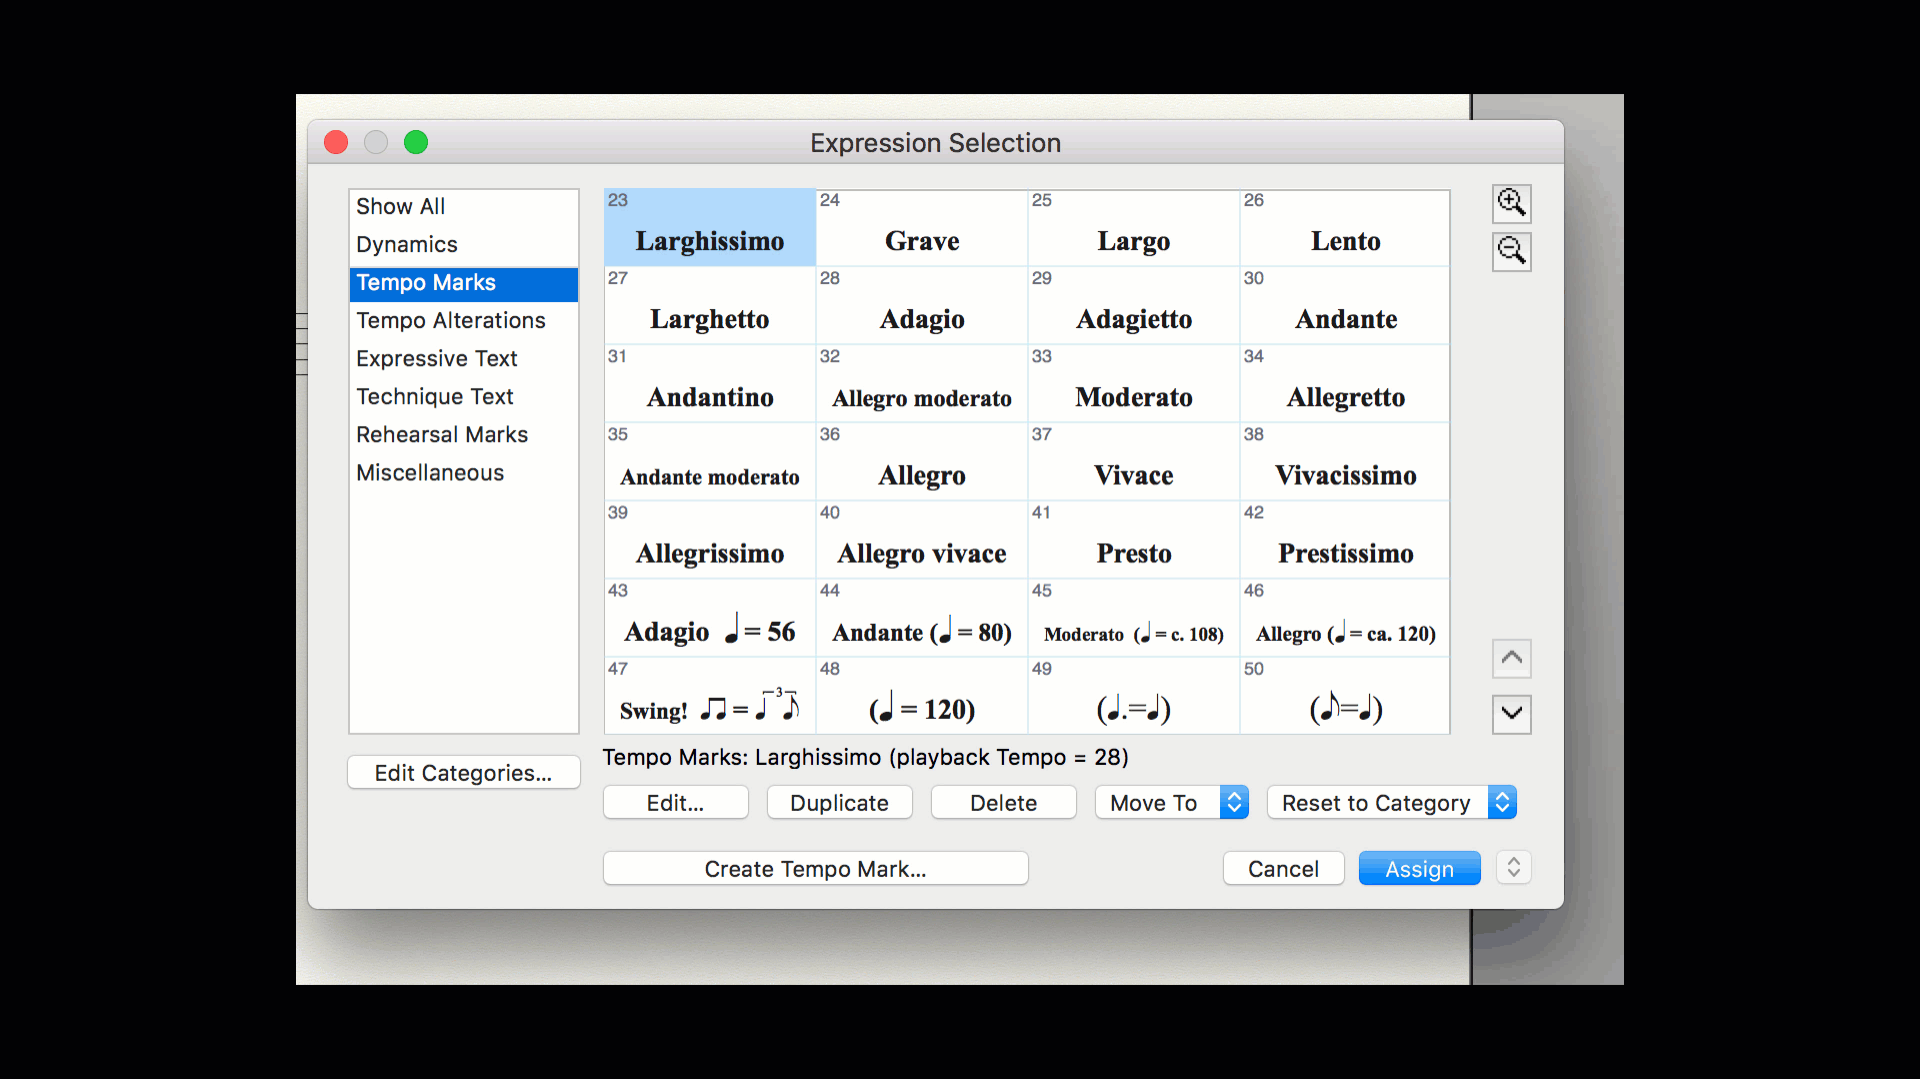
- In the Expression Selection dialog box, specify the Tempo Marks category.
- Now you can choose one of the predefined expressions.
- Double-click or select Assign to finalize your choice.
That’s it! Because this is Finale, you can always edit those predefined playback settings.
Edit Playback
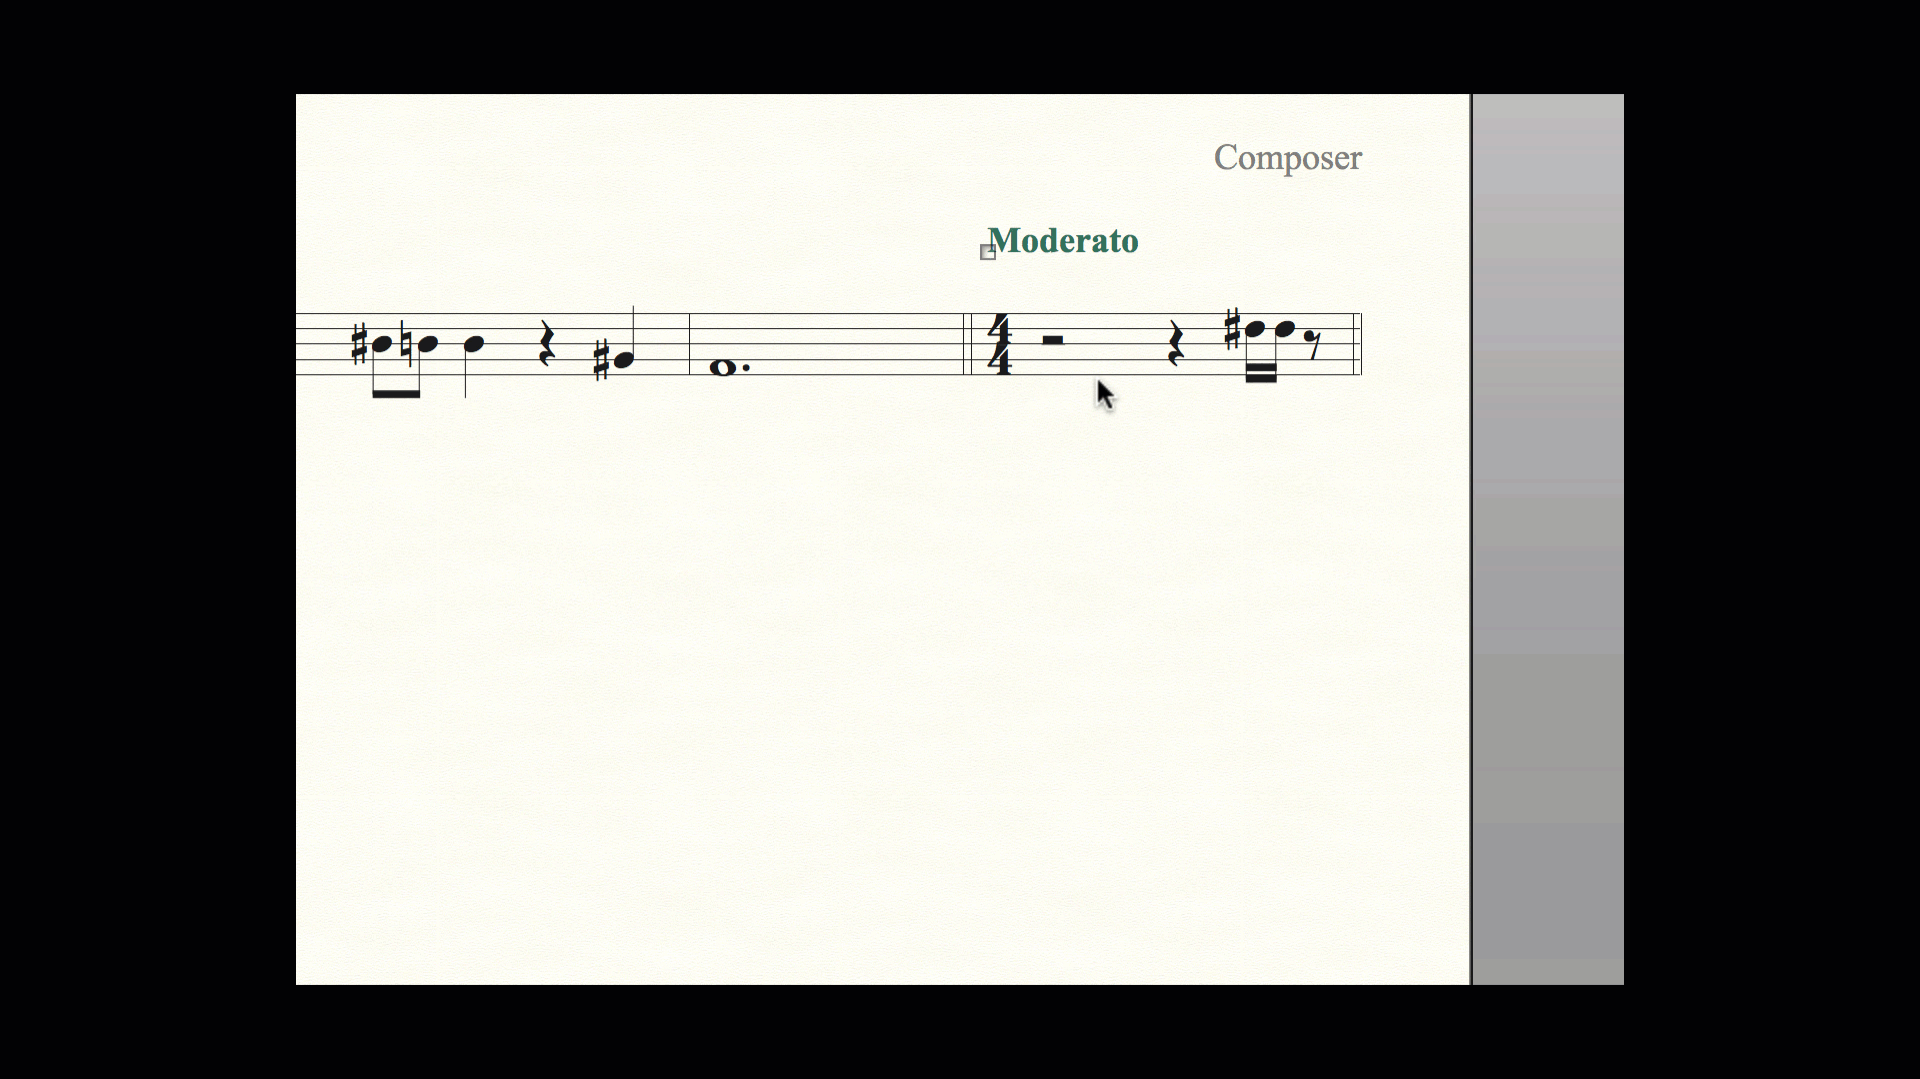
1. CTRL-click the tempo’s handle and select Edit Text Expression Definition…
2. In the Expression Designer dialog box, select Playback.
3. Enter the adjusted BPM for accurate playback.
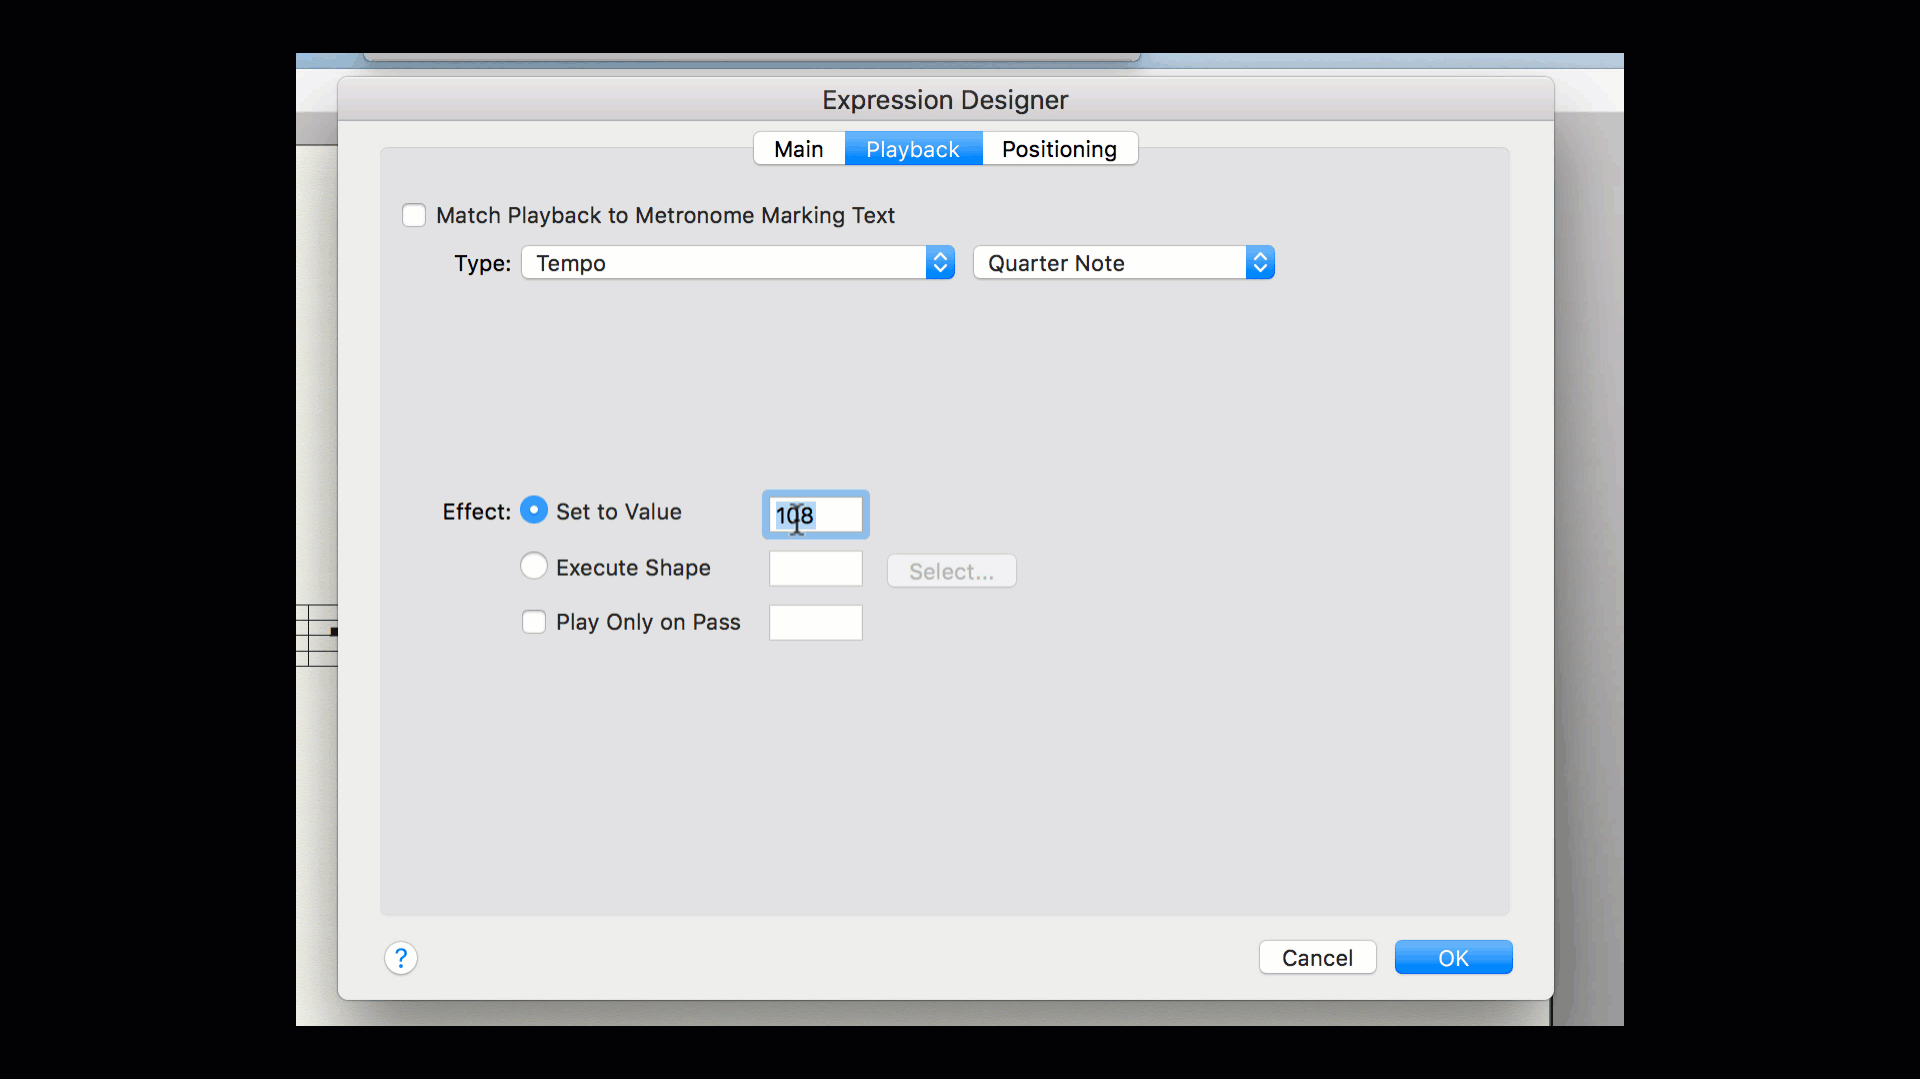
4. Select OK.
Now the marking not only looks great, it uses your adjusted playback tempo too.